Understanding the three stages of clay is crucial for anyone diving into the world of ceramics, as each stage offers unique properties that both challenge and inspire artists and hobbyists alike. The journey begins with the moist and pliable nature of wet clay, ideal for shaping and molding various forms. As the clay progresses to the leather-hard stage, it gains enough firmness to hold its shape while still being amendable for fine-tuning details or applying textures. Finally, the bone dry stage prepares the piece for firing, as all moisture has evaporated, leaving a fragile but stable form ready for the kiln.
| Stage | Description | Key Considerations |
|---|---|---|
| Wet Clay | Moist and malleable, perfect for initial shaping. | Keep covered to prevent drying; ideal for sculpting. |
| Leather Hard | Firm yet workable, suitable for refining shape and details. | Careful detail work; ideal for carving. |
| Bone Dry | All moisture evaporated, ready for firing. | Handle with care; very fragile before firing. |
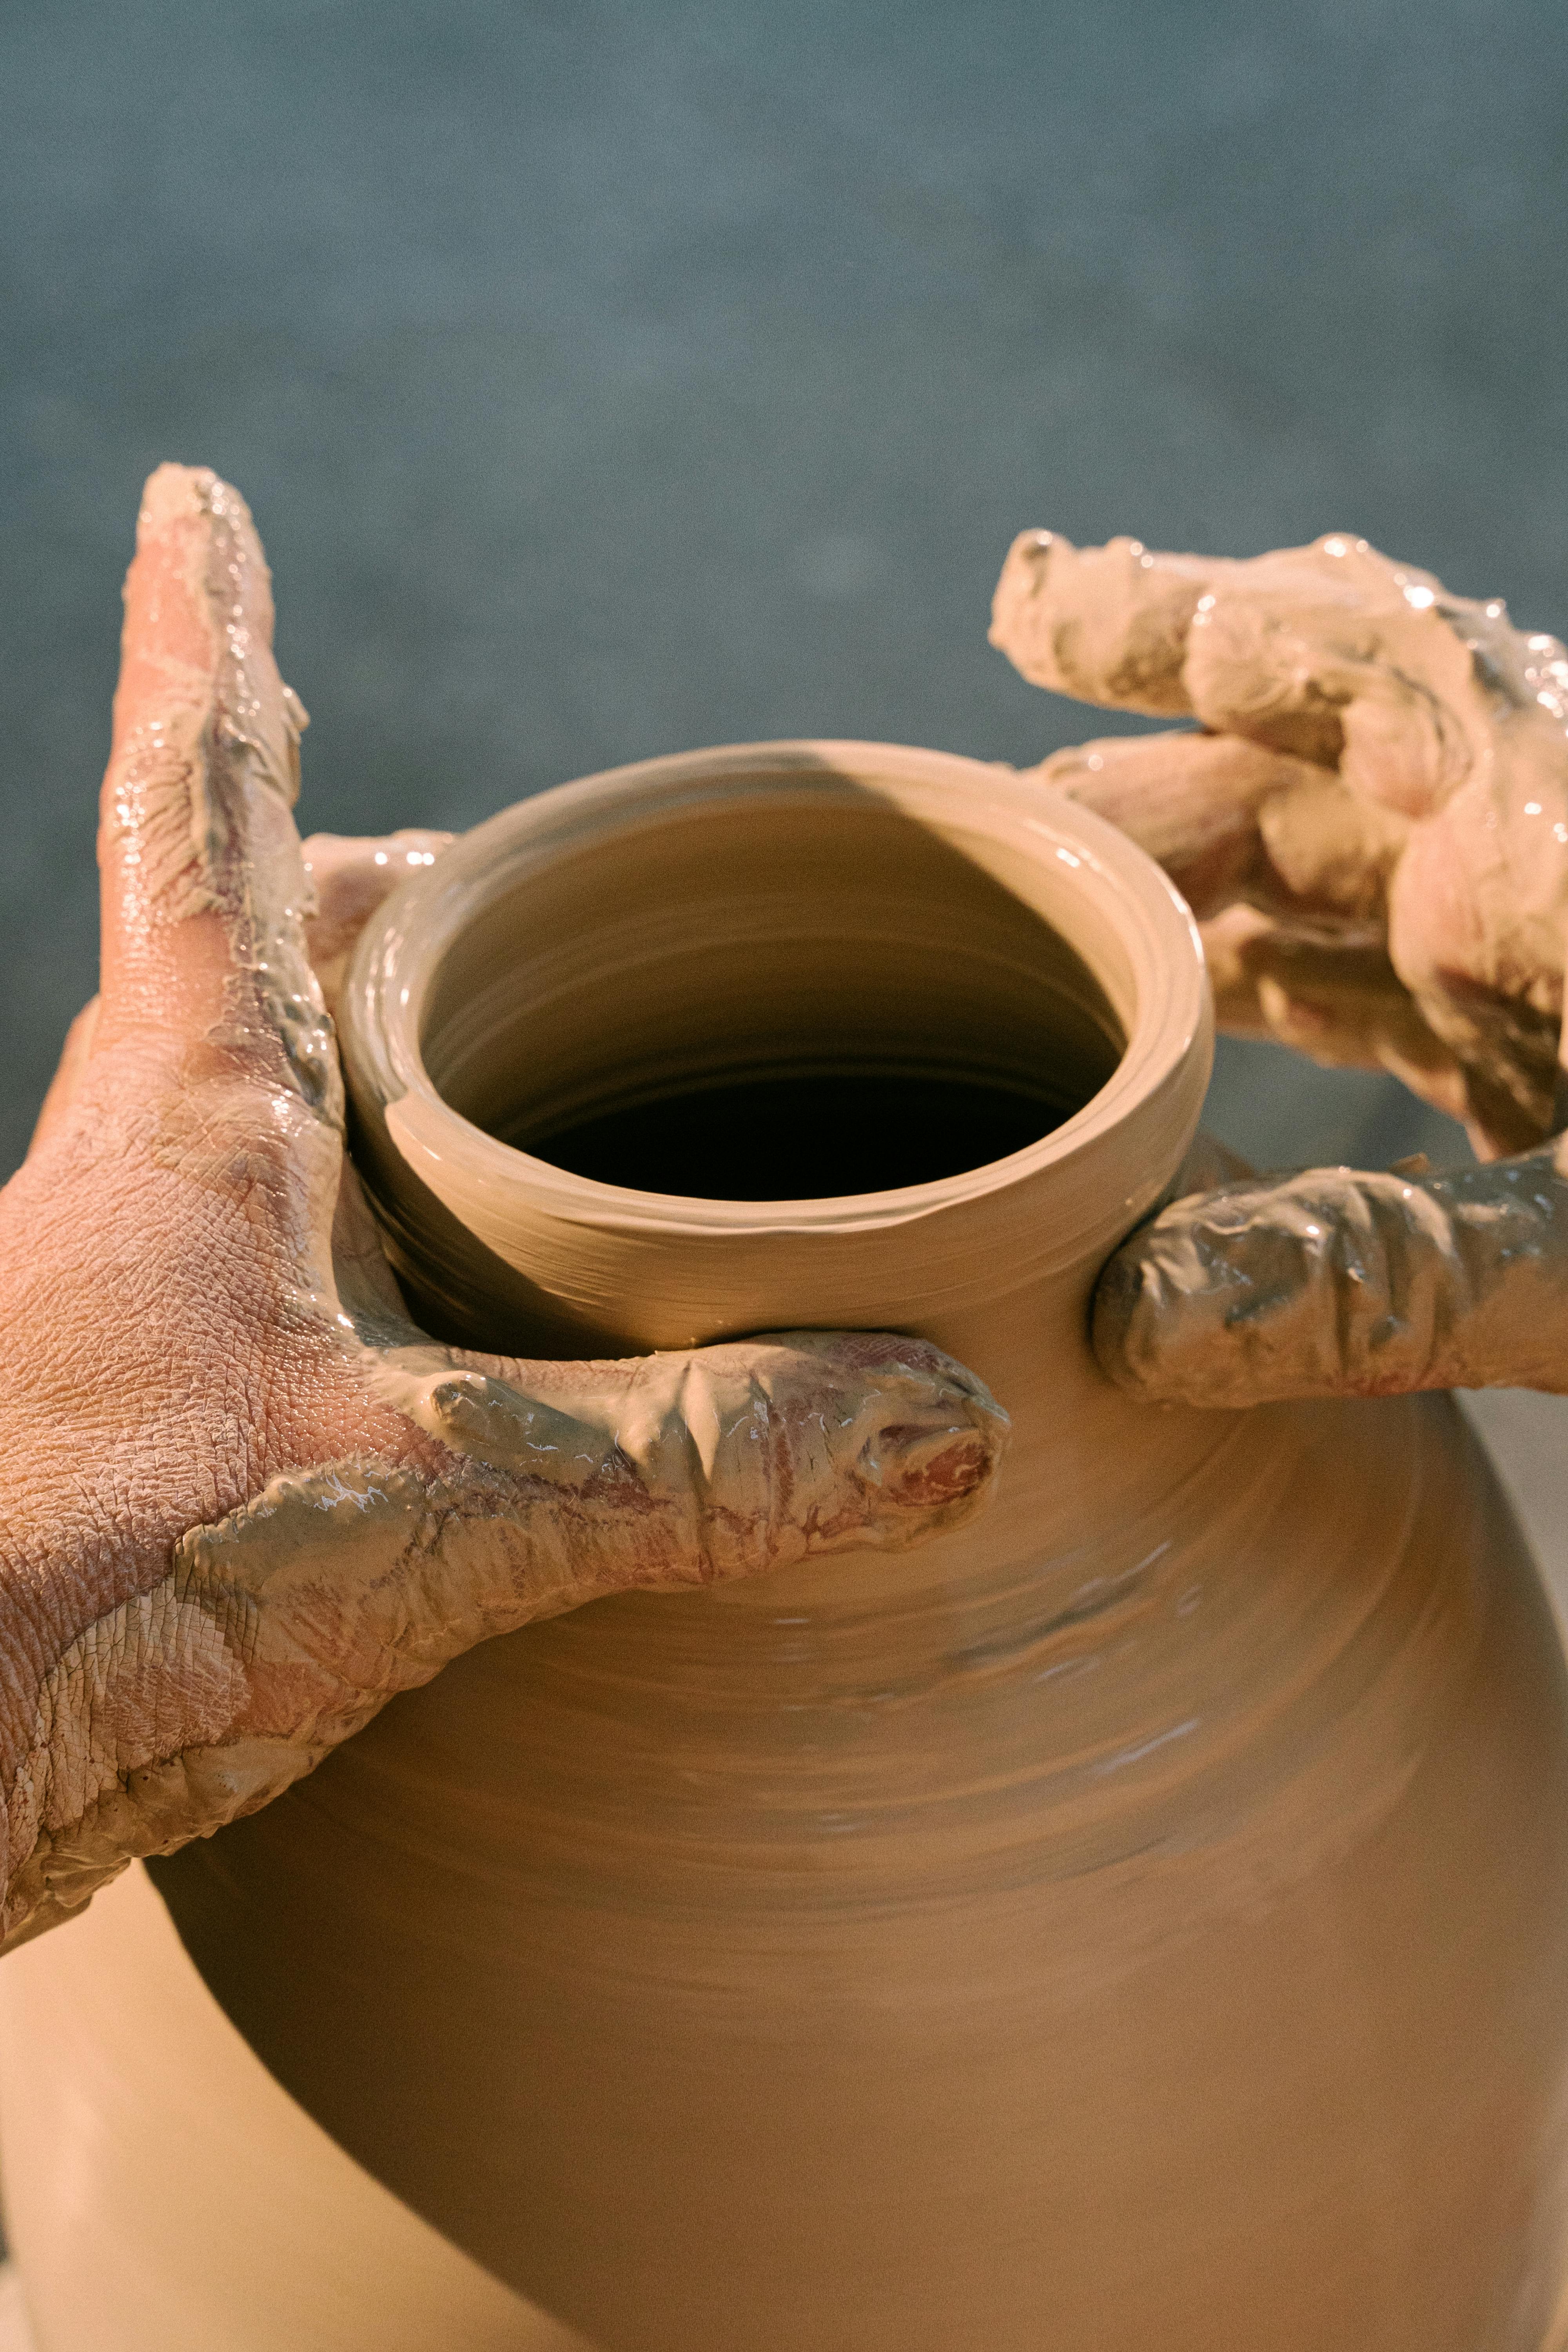
Diving into Wet Clay
Imagine holding a smooth, moist piece of clay in your hands—its malleability invites creativity as you shape and mold it into endless possibilities. Wet clay is the starting block for any ceramic creation. Its pliable nature makes it ideal for sculpting and forming, providing the opportunity to explore imaginative designs. When working with wet clay, maintaining its moisture is essential, so keep it covered when not in use. This simple step helps prevent premature drying that can hinder the creative process and affect the integrity of your piece. Learn more about mastering pottery techniques in this guide on throwing clay on the wheel.
Harnessing the Leather Hard Stage
The leather-hard stage is where the magic of refining begins. The clay has dried sufficiently to feel firm but still allows for precise detailing. It’s a wonderful moment for carving intricate patterns or applying decorative textures without the risk of deformation. The firmness of leather-hard clay supports structural changes, making it perfect for joining separate pieces or adding handles. Be mindful, though—this is a critical phase where attention to detail can elevate your artwork, but haste might lead to unwanted cracks or blemishes. For a comprehensive understanding of this art form, refer to this guide on pinch ceramics.
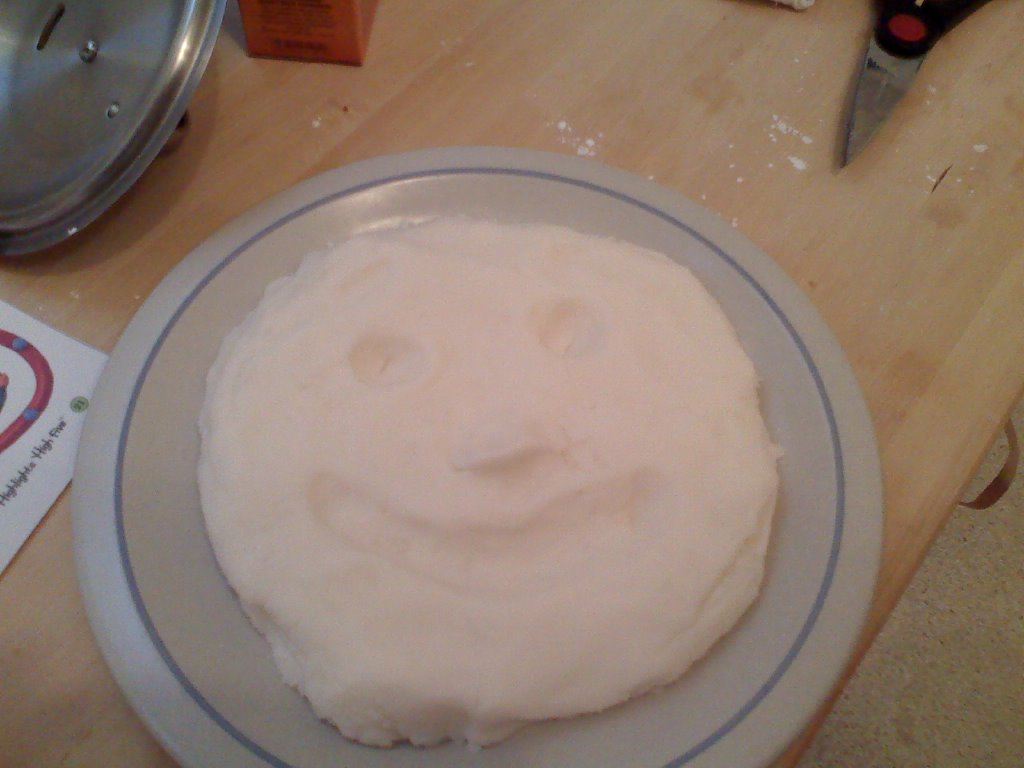
Approaching Bone Dry with Caution
Reaching the bone dry stage is akin to a moment of readiness, where your clay creation embarks on the final leg of its journey towards becoming ceramic. At this stage, the clay is extremely brittle due to the absence of moisture, so cautious handling is paramount. What’s imperative here is a thorough drying process before firing, as residual moisture can lead to cracks or explosions in the kiln. This stage is the precursor to the transformation that high temperatures will bring, so ensuring even dryness can safeguard the hard work that has gone into crafting your piece. For a deeper dive into the entire pottery process, explore this step-by-step pottery process guide.
- Wet Clay: Stay vigilant with moisture to sculpt freely.
- Leather Hard: Embrace this stage for detailed design enhancements.
- Bone Dry: Handle with care to avoid unintended damage before firing.
What stage do you find the most challenging or rewarding in your ceramic endeavors? Share your experiences and tips for navigating these stages in the comments below! For more recent insights and articles, explore our recent posts section.
3 Stages of Clay
Understanding the 3 stages of clay is crucial for anyone diving into the world of ceramics, as each stage offers unique properties that both challenge and inspire artists and hobbyists alike. To gain a deeper insight into each stage, watch Elvira Patino’s video titled “3 Stages of Clay”.
What are the three stages of clay in order?
Although many potters break it down into six specific steps, clay generally moves through three vital stages in its journey toward becoming a finished piece: forming, drying, and firing. In more detail, the six recognized stages are:
- Slip – A liquid mixture of clay and water, used for decorating or bonding pieces.
- Wet Clay – Soft, pliable clay ready for hand-building or wheel-throwing.
- Leather-Hard – Partially dried clay firm enough to carve or join but still workable.
- Bone Dry – Completely air-dried clay that’s ready for its first firing.
- Bisque – Clay that has been fired once, creating a ceramic piece ready for glazing.
- Glaze Ware – The final result after a second firing, often with a glossy or decorative finish.
What are the three main types of clay?
Clay bodies are usually categorized into three key groups: Earthenware, Stoneware, and Porcelain. These distinctions come from the firing temperature each type requires and the finished characteristics. Earthenware matures at lower temperatures and tends to have a rustic look, Stoneware is typically more durable and fired at medium to high temperatures, and Porcelain fires at the highest range, resulting in a smooth, refined surface.
What are the stages of using clay?
When you’re creating pottery or ceramic art, you’ll encounter six essential stages:
1) Slip (liquid clay)
2) Plastic or Wet Clay (highly moldable)
3) Leather Hard (partially dried but workable)
4) Bone Dry (ready to fire)
5) Bisque Ware (after the first firing)
6) Glaze Ware (finished piece post-glaze firing)
Understanding each step helps you plan your techniques, from shaping to final glazing.
What is step 3 of attaching clay?
Step 3 involves applying clay slip, which acts like a glue to fuse two pieces of clay. The consistency of your slip depends on how wet your clay is. If you’re working with very moist clay, a thin, paint-like slip should do the trick for a strong, seamless bond.
Understanding the 3 stages of clay can truly transform your approach to ceramics. By mastering each stage—from the soft and pliable to the fired and durable—you can bring your artistic visions to life with confidence and creativity. Embrace the process, and don’t be afraid to experiment as you develop your unique style.
Join Our Creative Community
I'd love to see your clay creations and hear about your experiences along the way! Be sure to follow us on Instagram to stay updated with the latest tips, tutorials, and inspiring projects. Let's continue this artistic journey together!