The pottery process is a fascinating blend of artistry and science, transforming humble clay into exquisite works of art. Delving into this craft unveils a journey that begins with the selection of the right type of clay, followed by shaping, drying, and firing in kilns. Along the way, techniques like hand-building and wheel-throwing contribute to the diversity and richness of pottery, while glazing and decoration add the finishing touches that define the piece’s character. This ancient practice not only requires a deep understanding of materials and methods but also reflects the cultural and historical significance embedded in the art of pottery.
| Step | Description | Key Techniques |
|---|---|---|
| Clay Preparation | Choosing and conditioning the clay for optimal workability. | Kneading, Wedging |
| Shaping | Forming the pottery item using various methods. | Hand-building, Wheel-throwing |
| Firing | Heating the shaped clay to high temperatures to harden it. | Kiln Firing, Bisque Firing |
| Decoration | Applying glaze and decorative elements to enhance appearance. | Glazing, Engobing |
| Final Firing | Glazed pottery is fired again to set the glaze and finish. | Glaze Firing |
The Art of Choosing and Preparing Clay

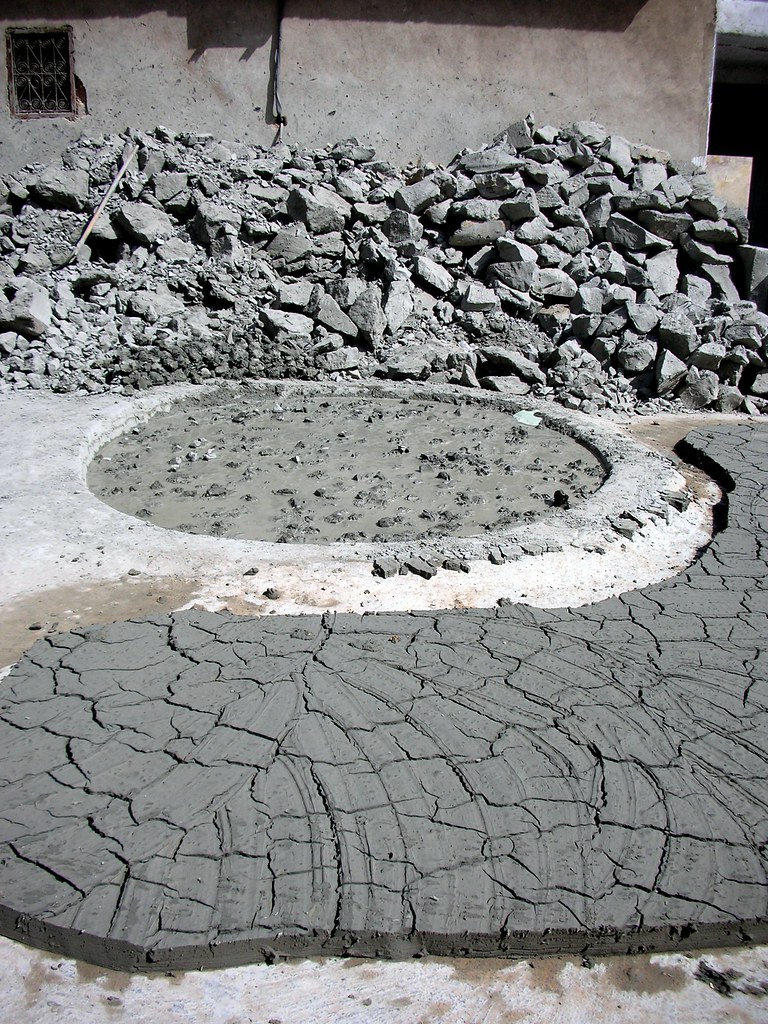
Unlocking the perfect piece starts with a simple gesture—choosing the right kind of clay. This choice is more than just selecting a lump from the shelf; it’s the cornerstone of what the eventual creation will be. Some varieties offer strength and versatility like stoneware, while others, such as porcelain, are sought for their delicacy and fine texture. The clay is then conditioned through kneading and wedging, processes that remove air bubbles and ensure uniform texture, crucial for preventing cracks during firing. Each knead connects the potter with the essence of the clay, setting the stage for what comes next.

The Joy of Shaping Clay
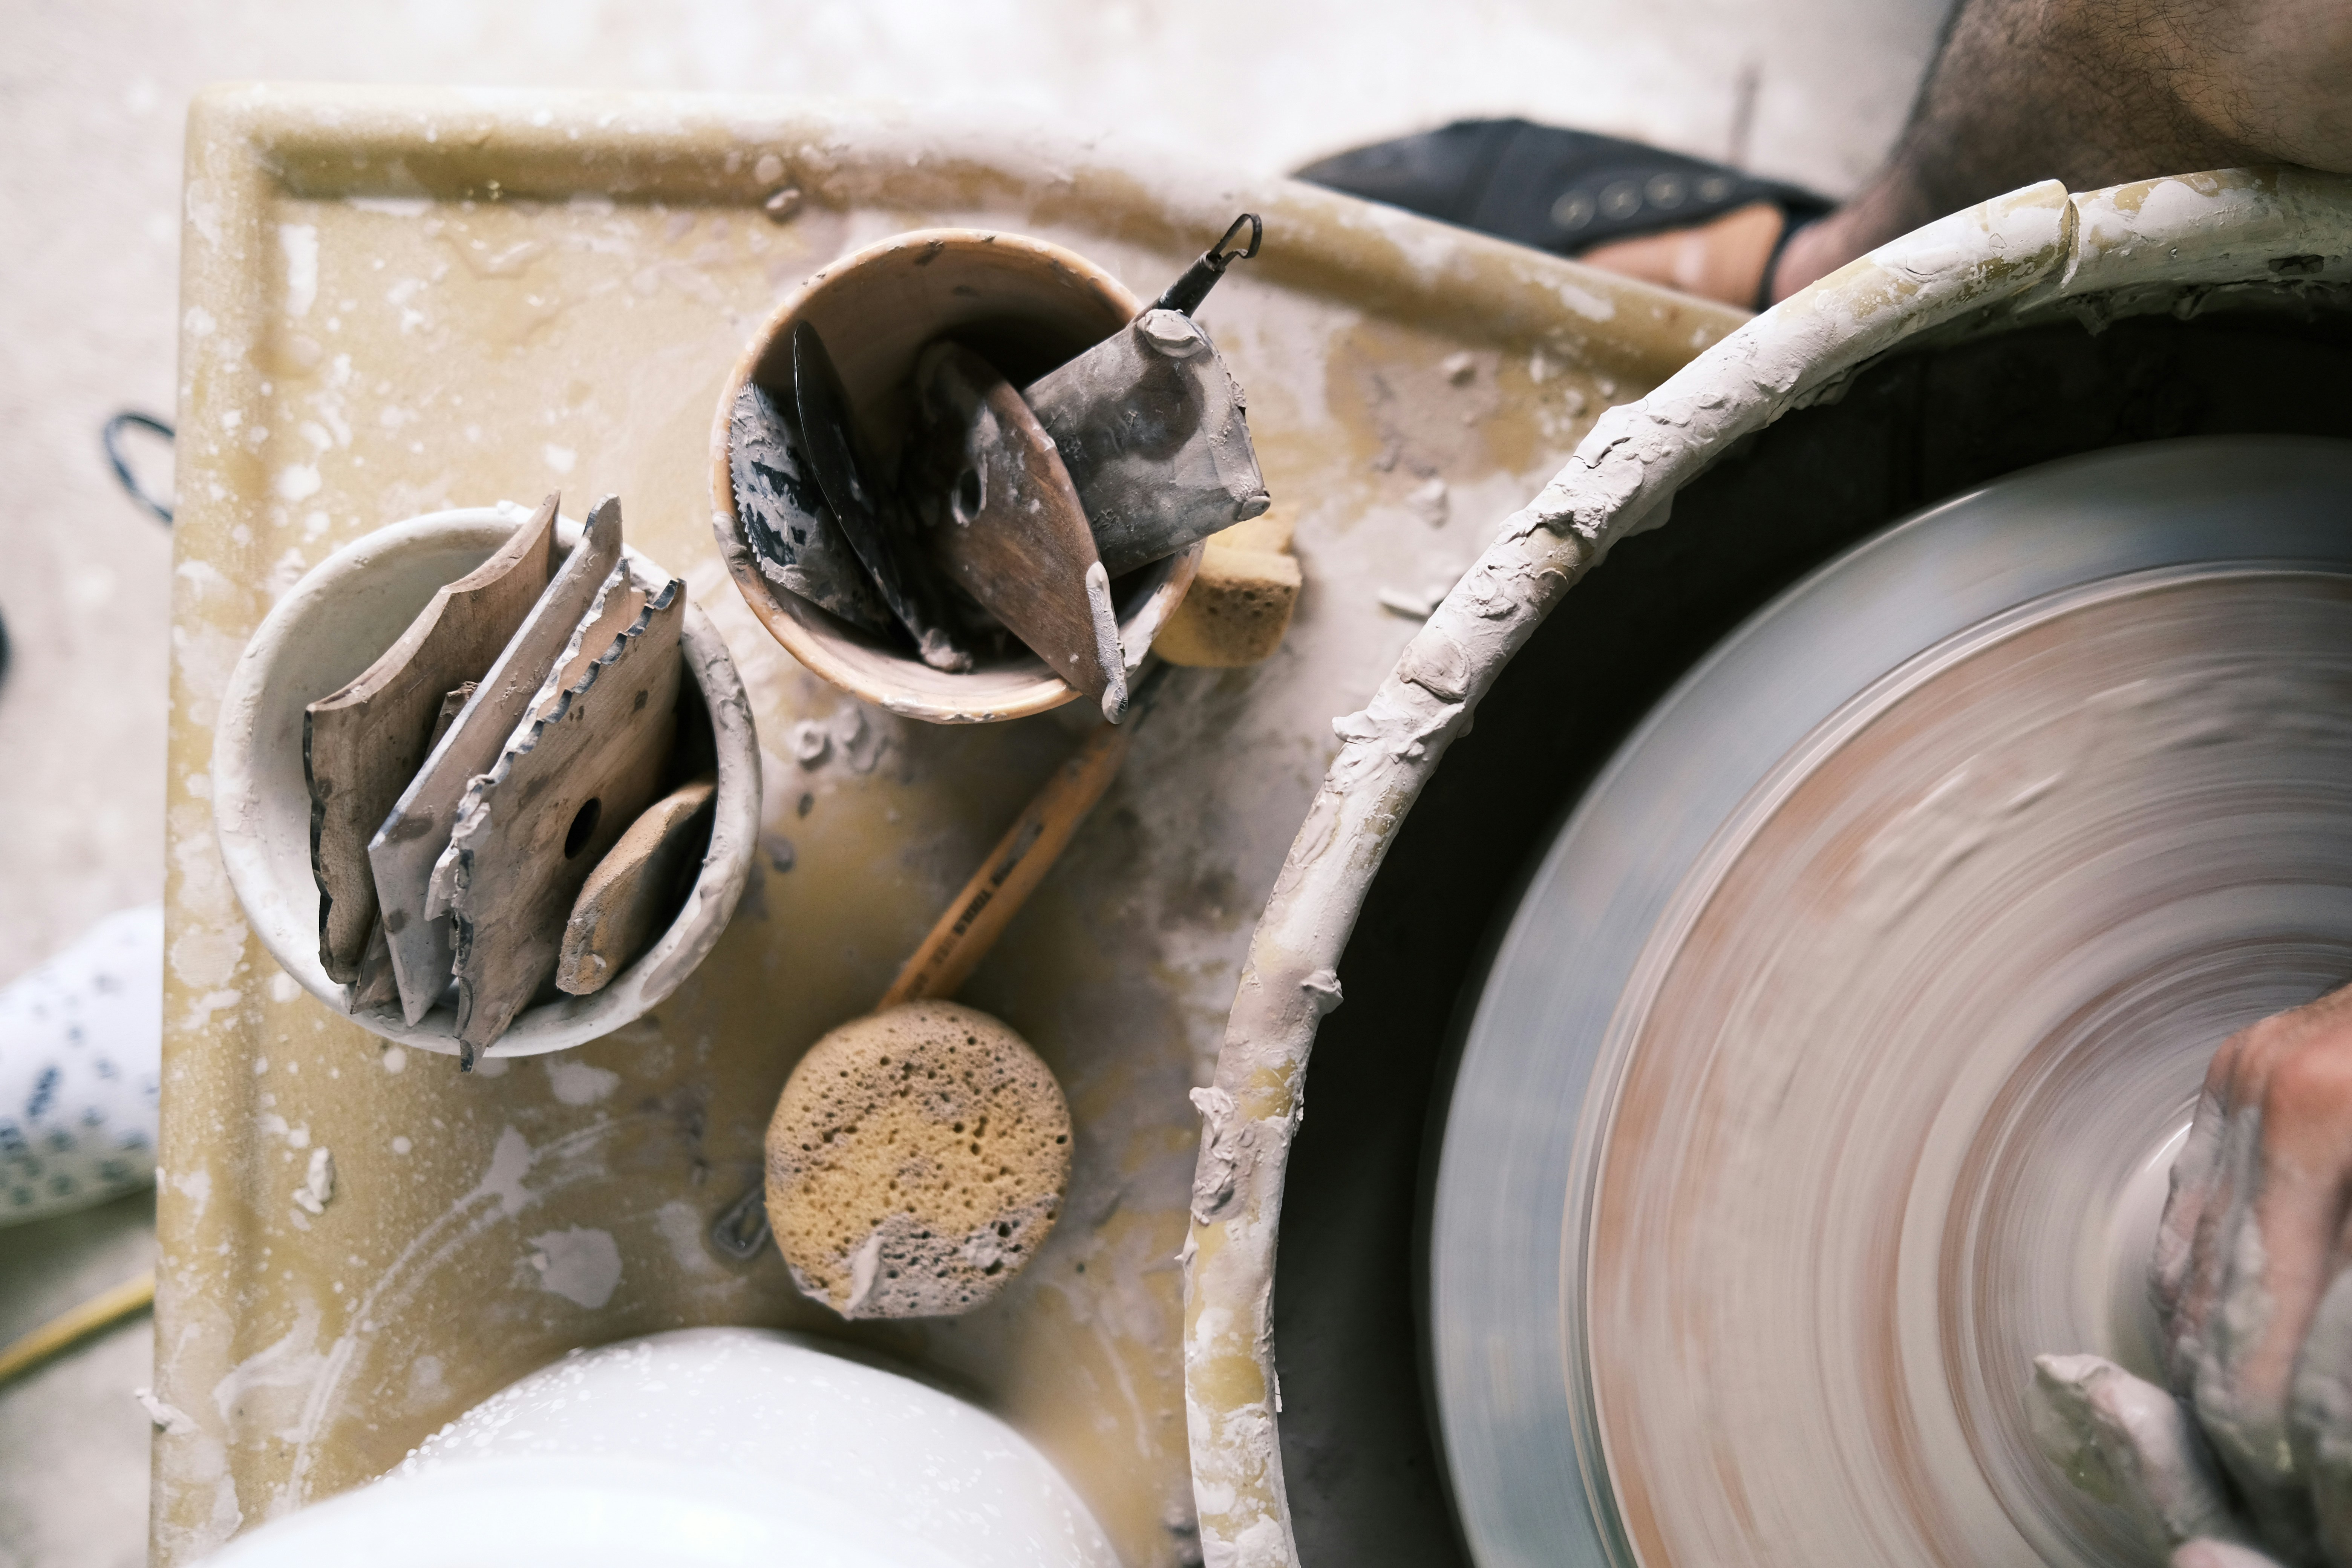
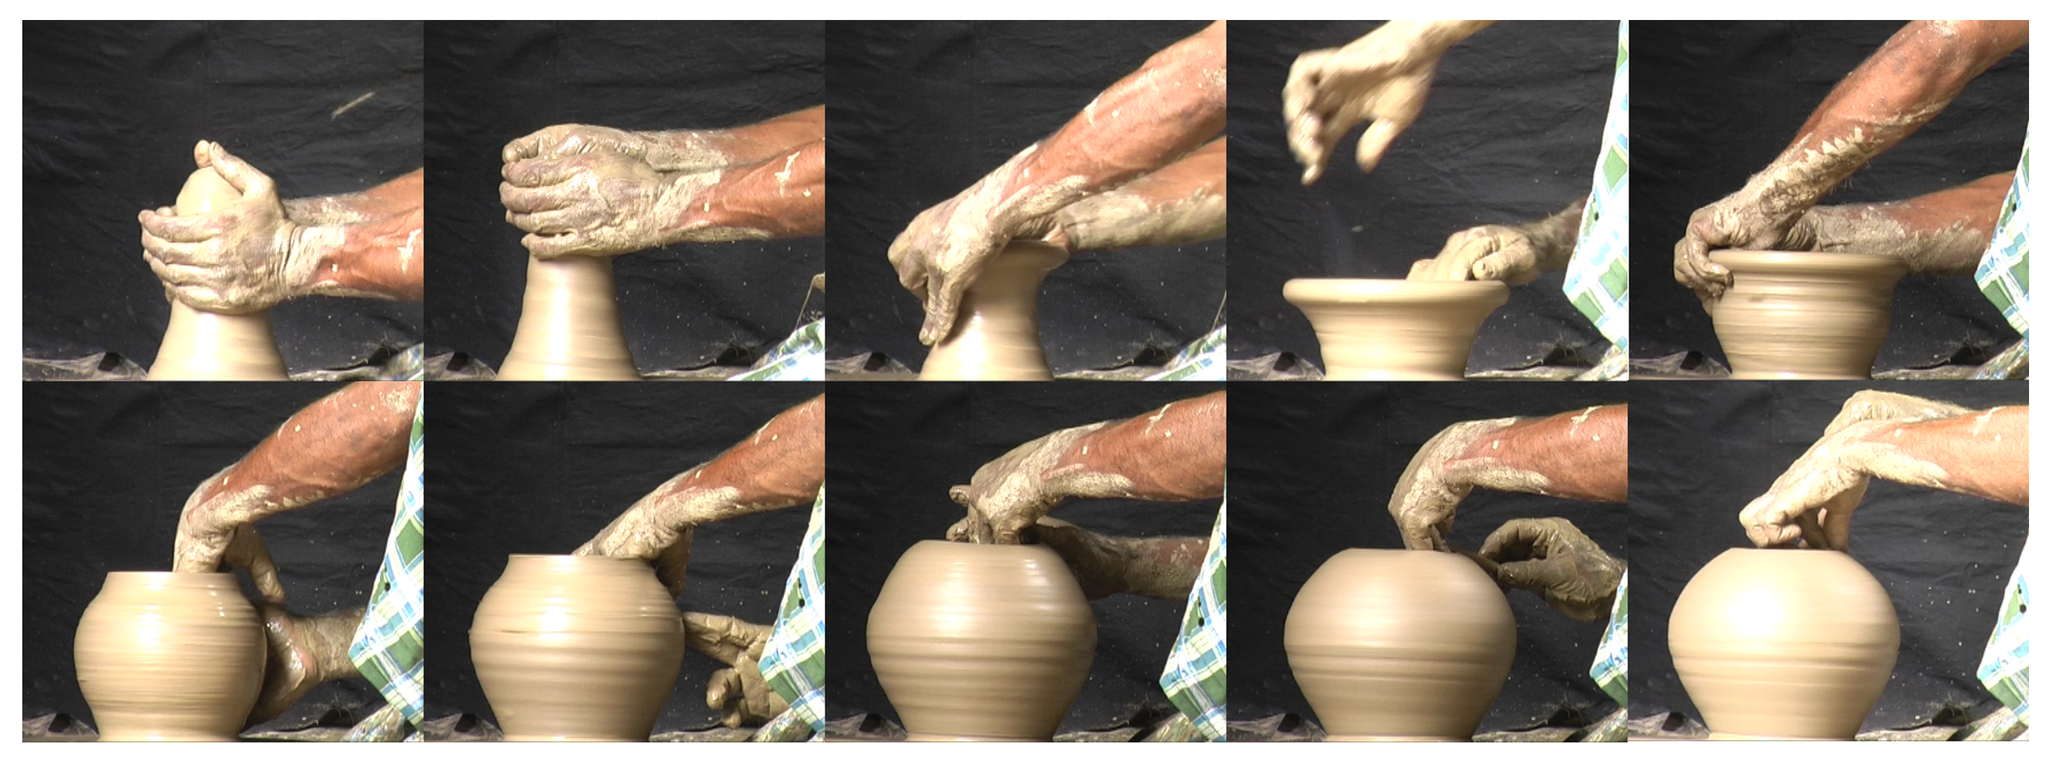
Sinking your hands into a soft mound of clay can feel like pure magic, as each touch influences its transformation into a unique object. Craft methods such as hand-building allow for limitless creativity; rolling coils, pinching, and shaping slabs craft pieces imbued with personality. Meanwhile, wheel-throwing is all about precision and control, where the spinning wheel dictates the rhythm of creation. This is where imagination meets craftsmanship, as each motion creates the form that begins to hint at the final piece.


The Crucial Role of Firing
After shaping, it’s time to bring fire into the equation—a critical component that permanently changes the clay’s state. Initial bisque firing removes moisture, hardening the clay to make it ready for glazing. The sensation of opening a kiln after this process reveals earthy hues, each piece waiting eagerly for its splash of color and character. Firing isn’t simply a procedure; it’s a transformation where temperatures as high as 2,900°F interact with the work, enhancing durability and depth.

Adding Personality with Glazing and Decoration
Glazing transforms the mundane into extraordinary, hanging like magic over the bisque-fired pottery. This step is all about aesthetic enhancement—adding not just color but a subtle sheen or matte texture. Techniques like engobing, where colored slips are applied, create intricate designs. It’s at this stage that artisans express their personal style, imprinting each piece with a signature flair. Watching the glaze set into its final, glorious tasters post firing is like unveiling art itself.
Have you ever tried your hand at pottery, or are you considering starting? Share your experiences or thoughts in the comments below! Your insights might inspire someone else embarking on their own pottery journey. For more recent articles and content about pottery and other related topics, feel free to explore further!
NATIONAL GEOGRAPHIC Deluxe Pottery Wheel

“Skutt KM 1027 LL (Kiln + Shelf Kit + Envirovent) : Arts” – The Skutt KM 1027 LL Kiln is a comprehensive pottery solution perfect for artists and schools. Featuring a large capacity kiln combined with a convenient shelf kit and the advanced Envirovent system, this package ensures efficient firing and superior results. Ideal for ceramics enthusiasts seeking reliable performance and top-notch quality, this kiln is designed to meet the demands of both sophisticated art projects and routine pottery work. Available on Amazon.
Watch the Pottery Bowl Reveal
The pottery process is a fascinating blend of artistry and science, transforming humble clay into exquisite works of art. Delving into this craft unveils a journey that begins with the selection of the right type of clay, followed by shaping, drying, and more. To see this process in action, check out Emme Zhou’s YouTube video “POTTERY BOWL REVEAL!!! 😩 #ceramics #pottery #hobby #bowl,” which showcases the creation and final reveal of a beautifully crafted ceramic bowl.
What are the steps for making pottery?
Transforming a lump of clay into a finished ceramic piece can be a rewarding journey. Here’s a quick overview of the core stages:
- Step 1: Preparing the Clay. Begin by kneading or wedging your clay to remove air pockets and create a smooth consistency.
- Step 2: Shaping. Whether you’re hand-building or using a pottery wheel, carefully form your piece into the desired shape. This is where creativity truly shines.
- Step 3: Drying. Allow the newly shaped piece to dry slowly and evenly, preventing cracks or warping.
- Step 4: Bisque Firing. Fire the dried piece in a kiln for the first time, which transforms it into a durable, porous surface ready for glazing.
- Step 5: Glazing. Apply glazes to add color and protection. Experiment with different techniques for a personal touch.
- Step 6: Final Firing. Fire again at the recommended temperature for your chosen glaze, ensuring your work is properly sealed and vibrant.
- Conclusion. Once cooled, your pottery is ready to enjoy—whether it’s a functional dish or a cherished decorative piece.
What are the five stages of pottery?
When crafting functional and decorative ceramic objects, you’ll move through five main stages:
• Step One – Design. Sketch or visualize your pottery concept. Decide on shape, style, and function before you touch the clay.
• Step Two – Making. Use hand-building methods or throw on the wheel. Give yourself time to refine details as you work.
• Step Three – Drying. Let the piece reach a consistent leather-hard or bone-dry state. Keep an eye out for cracks.
• Step Four – Trimming and Cleaning Up. Trim wheel-thrown pots for a clean finish, or smooth out slip cast forms. Make sure your name or initials are clearly marked.
• Step Five – Bisque Firing. Fire your pottery at a lower temperature to harden it, preparing the surface for glaze and final firing.
What are the 7 stages of clay in order?
Clay evolves through distinct conditions, each requiring special care and offering opportunities for creativity:
- Dry Clay Stage. Clay is unprocessed or newly mined. It may need slaking and wedging before use.
- Slip Stage. This liquid form of clay is perfect for slip casting, adding decorative touches, or joining pieces.
- Plastic Stage (Wet Clay). Highly workable and moldable, ideal for shaping and building.
- Leather Hard Stage. The clay is partially dry but still pliable enough for carving, shaping handles, or additional detailing.
- Bone Dry Stage. The most fragile state—handle with care to avoid cracks before firing.
- Bisqueware Stage. Clay that has been bisque fired once, ready to be glazed.
- Glazeware. After the final firing, your clay has turned into robust ceramic, boasting color and sheen.
What is the pottery process called?
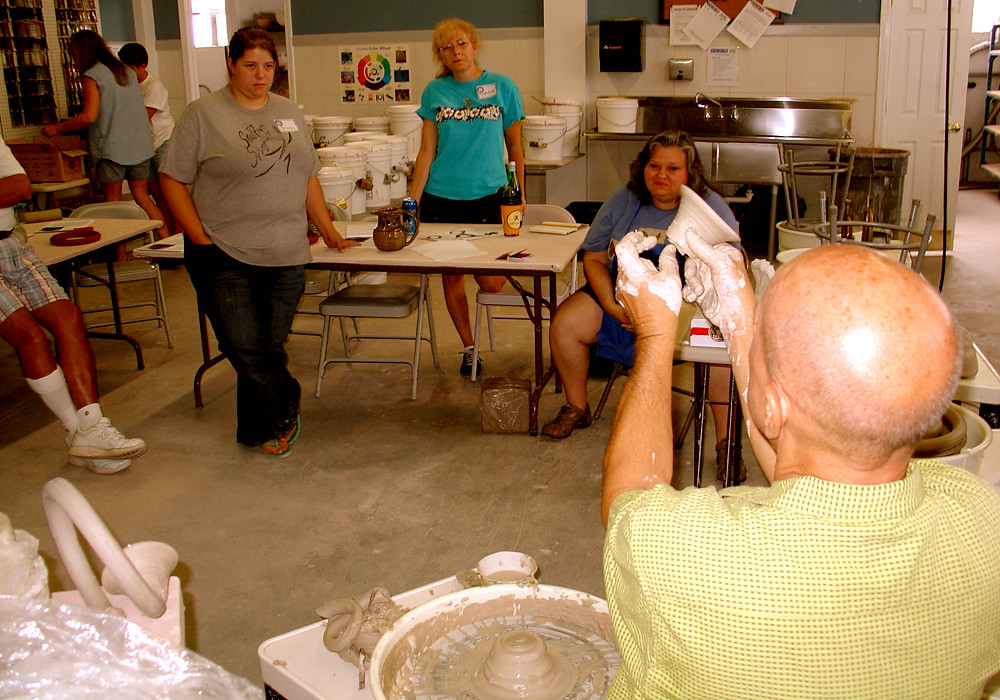
In many studios, making pottery on a wheel is commonly referred to as “wheel throwing” or simply “throwing.” For those who prefer to create by hand, it’s known as “hand-building.” Both methods fall under the broader journey of turning clay into pottery, connecting you with age-old traditions of craftsmanship and creativity.
Wrapping up, the pottery process truly showcases the beautiful marriage between creativity and technique. From selecting the perfect clay to shaping and drying, each step requires patience and passion. Whether you’re a seasoned potter or just starting out, embracing this journey can be incredibly rewarding and fulfilling.
Stay Connected and Keep Creating
If you found this exploration of the pottery process inspiring, don't hesitate to stay connected! Follow us on Instagram for more tips, tutorials, and stunning pottery showcases. Let's continue to nurture our love for this timeless art together!
Leave a Reply
Venture into a world where clay and creativity converge at JJClayStudio.com – where every piece tells a story. Unearth your next treasure and become part of the narrative that turns everyday moments into artful experiences.
