Navigating through the various clay stages is an essential journey for any aspiring potter, each step offering its own set of challenges and opportunities to shape a masterpiece. These stages—from the initial plasticity of wet clay to the refined, glass-like finish of glazeware—form the foundational milestones in the pottery-making process. Understanding and mastering these phases is crucial, as each one requires careful attention to ensure the transformation from a raw, malleable material to a beautifully finished ceramic piece. The table below outlines key characteristics and uses of each clay stage, providing a handy reference for potters at all levels.
| Clay Stage | Characteristics | Ideal For |
|---|---|---|
| Dry Clay | Easy to store, doesn’t spoil, ideal for custom mixtures | Storage, mixing with additives |
| Slip | Watered-down clay, used as glue or for casting | Attaching pieces, decorative work |
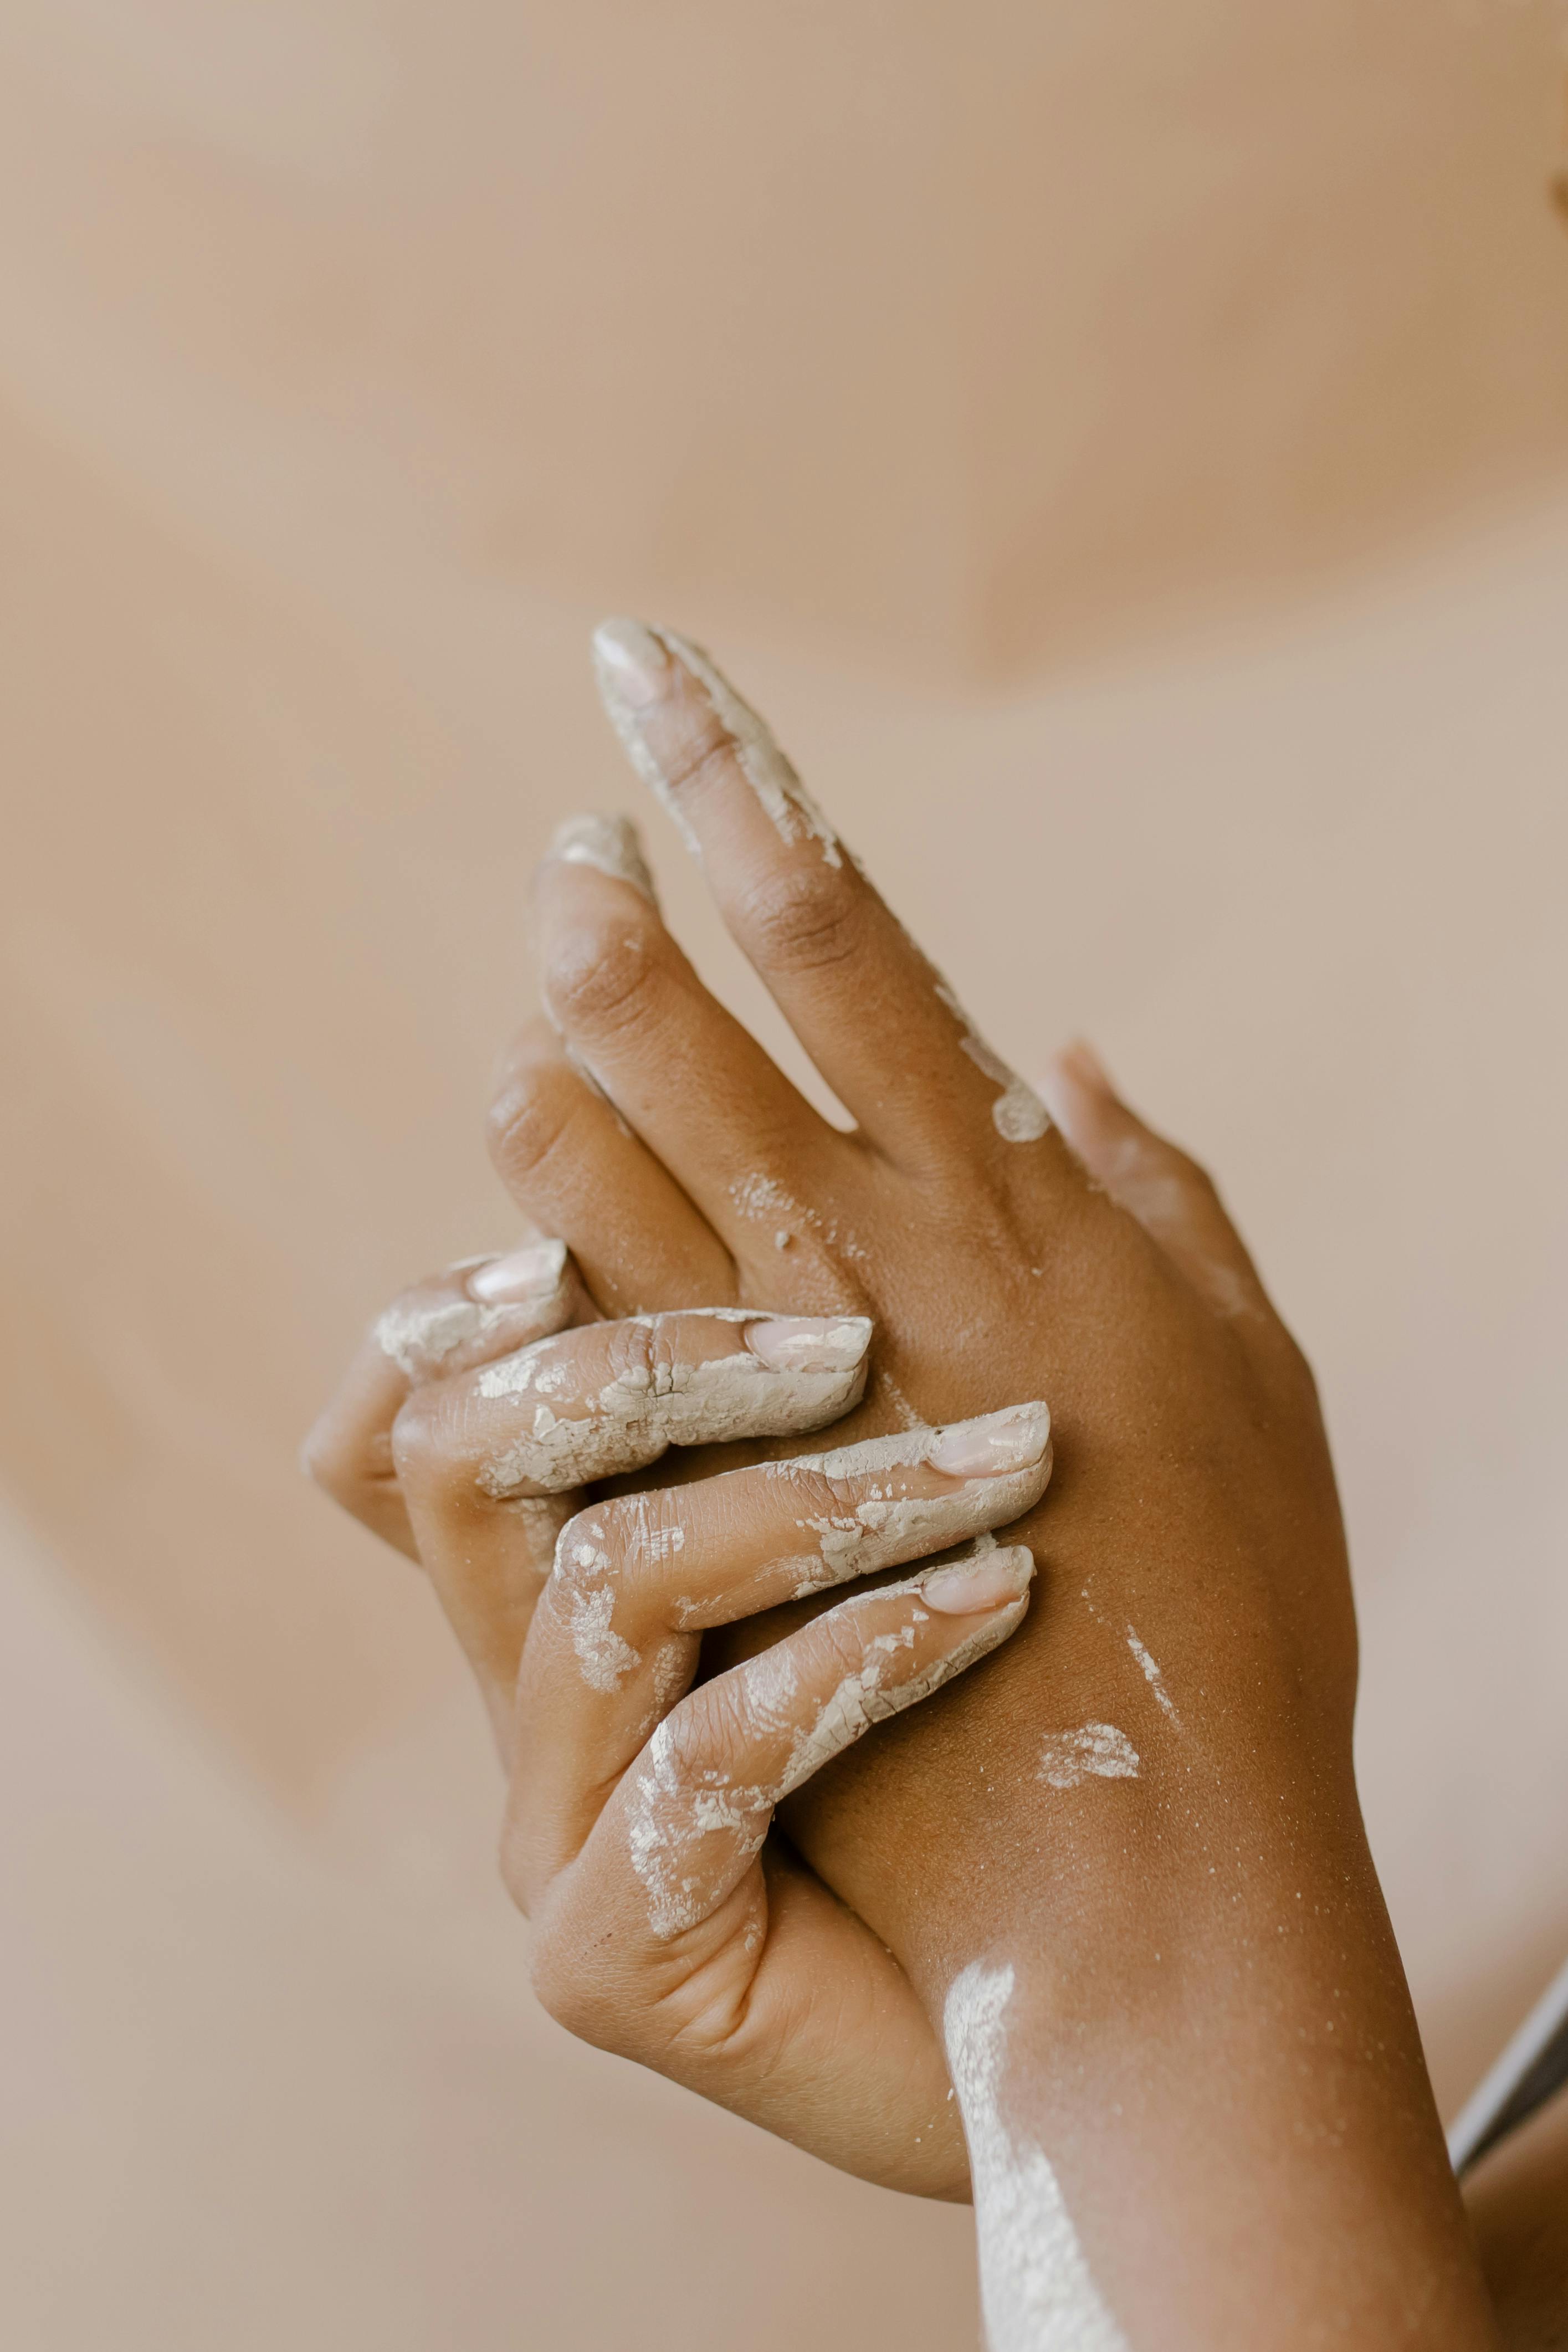
| Plastic | Malleable, ideal for modeling and shaping | Throwing, pinch work, coiling |
| Leather Hard | Stiff yet moist, good for trimming and carving | Trimming, slab work |
| Bone Dry | Completely dry, light in color, fragile | Ready for firing, applying underglaze |
| Bisqueware | Fired once, rigid and porous | Glazing |
| Glazeware | Second firing with glaze, non-porous finish | Final product, functional pottery |
The Journey Begins: Navigating the Clay Stages
Embarking on the pottery-making journey means getting intimately acquainted with the ebb and flow of each clay stage. The initial magic—or challenge—begins with dry clay. It’s there, quietly waiting, unyieldingly stable, until you decide its fate. Want to concoct your custom blend with grog or other additives? This is the stage to let your creativity add a dash of uniqueness that could transform your piece into a standout specimen. For a comprehensive understanding, refer to the 7 stages of clay.
The Slip Stage: More Than Just Glue

Slip isn’t just watered-down clay; it’s the enchanting elixir that functions as both the adhesive and the storyteller within your ceramic narrative. This stage is like rolling up your sleeves to unleash your ideas through slip casting or decorative slip trailing. By perfecting the creamy texture—neither too thick nor too thin—you create a canvas with endless opportunities, whether attaching pieces seamlessly or adding intricate designs. Discover more about these techniques in the ultimate guide to clay pottery techniques.
The Plastic Stage and Its Infinite Possibilities
Boldly stepping into the plastic stage is when clay’s true potential comes alive. The wet, moldable quality invites your hands to experiment with techniques like throwing or coiling, almost like a ballet between the potter and clay. This is where you knead, wedge, and transform this versatile material into your envisioned masterpiece. Every pinch and roll is an idea brought to tactile reality. For inspiring ideas, check out easy ceramics projects.
The Leather Hard Stage: Where Control Meets Creativity
The leather-hard stage is a unique intersection of stability and creativity. As clay dries and stiffens, it becomes the perfect candidate for trimming and intricate carving. Whether engaging in slab work or turning techniques, here’s where you bring precision to your creation without the fear of collapse. Wrapping unfinished pieces in plastic or using damp cupboards keeps you in control, maintaining the clay’s prime working condition. Learn about different clay types that affect this stage.
The Fragility of the Bone Dry Stage
Bone dry clay may seem lifeless, but it is the silent prelude to the firing symphony. Its light hue and fragile state require a gentle touch, giving you one last moment to apply underglaze before the unstoppable transformation begins. Once fired, this stage bids adieu forever, cementing the clay’s destiny in fire.
Unveiling Bisqueware: From Fragile to Formidable
Once the initial firing solidifies your piece into bisqueware, a world of glazing possibilities unfurls. This semi-permeable state is an invitation to paint on personality while the clay remains thirsty enough to absorb glaze. It’s the evolution from vulnerability into the beginning of true strength.
The Glazeware Finale
Finally, the glazeware stage heralds the culmination of your work. It’s here that the clay reemerges from the kiln transformed, dressed in its glass-like armor. The non-porous finish isn’t just about aesthetics; it’s about functionality, transforming your creation into a waterproof entity capable of gracing a dining table or holding a bouquet. Matching firing temperatures to your clay type ensures a perfect, dazzling vitrification.
Our journey through the clay stages is akin to an artist’s sketch evolving into a masterpiece. Each step beckons with both triumphs and trials. Which part of these stages excites or poses challenges for you? Share your thoughts or experiences in the comments—let’s learn together! For more insights and inspiration, visit our collection of recent articles.
ARTPAR Modeling Molding Sculpting Non Sticky
A comprehensive tool kit for all your crafting needs, the Polymer Clay Tools and Pottery Tool Kit contains 45 pieces designed to enhance your modeling and sculpting experience. Ideal for both beginners and seasoned artisans, each tool is crafted to provide precision, durability, and ease of use. Whether you’re creating intricate designs or simple shapes, this sturdy kit is your perfect companion for all pottery and clay projects.
Ceramics 101: Stages of Clay
Navigating through the various clay stages is an essential journey for any aspiring potter, each step offering its own set of challenges and opportunities to shape a masterpiece. These stages—from the initial plasticity of wet clay to the refined, glazed finish—are comprehensively explored in Jescia Hopper’s video, providing valuable insights into which stages work best for different types of ceramics projects.
What are the 7 stages of clay in order?
Discovering the full journey clay takes—from its driest form to a finished, glazed masterpiece—can help you create stronger, more refined pottery. Below are the seven main stages of clay and how you can prepare or use them:
-
Dry Clay Stage:
Also known as the raw or powdered form, this is clay at its most basic. At this phase, you might sift or wedge the dry material to remove impurities before adding moisture. -
Slip Stage:
Clay in its slip form is a liquid mixture. It’s ideal for casting, decorating, or attaching separate pieces. Most potters keep a container of slip on hand for joining handles or repairing minor cracks. -
Plastic (Wet) Stage:
This is the workable, moldable condition where you can shape, coil, pinch, or throw your clay on a pottery wheel. At this stage, the clay is easy to manipulate and holds form well. -
Leather-Hard Stage:
Clay becomes firmer but still retains enough moisture to allow gentle carving, trimming, or adding components like spouts and handles. This stage strikes a balance between flexibility and stability. -
Bone Dry Stage:
Fully air-dried clay is extremely fragile and ready for the first firing. Handle with care at this point to prevent breakage. -
Bisqueware Stage:
After the first firing, clay turns into bisque. This is when your piece has undergone a permanent chemical change and is ready to be glazed or decorated. -
Glazeware Stage:
Your pottery has been glazed and fired for a final time. The clay is now vitrified, meaning it’s fully matured, watertight, and ready to use or display.
What are the 6 stages of clay?
While many potters recognize seven stages, some focus on six essential milestones in clay’s transformation. These stages are:
- Slip
- Plastic (Wet Clay)
- Leather Hard
- Bone Dry
- Bisque Ware (First Firing)
- Glazeware (Final Firing)
What are the 4 stages of joining clay?
When attaching two pieces of clay, remember the four “S” steps to keep your pottery securely bonded:
• Score: Rough up both surfaces.
• Slip: Apply liquid clay (slip) to each scored area.
• Stick: Gently press the clay pieces together.
• Smooth: Blend the seams for a seamless finish.
What are the 8 stages of clay?
Some artists expand the process to include one more step for a total of eight stages:
- Dry (Raw/Powder) – Completely dry, unformed clay.
- Slip/Slurry – Liquid form that’s perfect for casting or decorating.
- Plastic – The moldable, workable condition for shaping.
- Leather-Hard – Semi-firm clay that allows fine detailing.
- Greenware – Fully air-dried clay, ready to be fired.
- Bisque – Clay that has undergone the first firing and become porous.
- Vitrification – The stage at which clay reaches maturity in the kiln.
- Glazed – Final form, completely sealed and ready for use or display.
Mastering the various clay stages is truly a rewarding journey, allowing you to bring your creative visions to life one step at a time. Each phase, from the soft, pliable beginnings to the final touches of glazing, offers unique opportunities to grow and enhance your pottery skills.
Stay Connected with Our Community
Keep the inspiration flowing by following us on Instagram. Stay updated with the latest tips, share your progress, and connect with fellow pottery enthusiasts!
Leave a Reply
Venture into a world where clay and creativity converge at JJClayStudio.com – where every piece tells a story. Unearth your next treasure and become part of the narrative that turns everyday moments into artful experiences.