Learning how to make ceramics at home without a kiln opens up a world of creative possibilities for pottery enthusiasts looking to explore their passion in the comfort of their own spaces. While traditional kilns offer precise control over firing temperatures, meaningful and artistic ceramic creations can still emerge through alternative methods that bypass the need for expensive equipment. With the right clay and techniques, such as pit firing or raku, you can create beautiful and functional pieces that reflect personal artistry. Here’s a handy guide to help you start your ceramics journey at home.
| Step | Description | Materials & Tools Needed |
|---|---|---|
| Step One: Find the Right Clay | Choose earthenware or raku clay that can be fired at low temperatures. For a comprehensive guide on the types of clay you can use, visit Types of Clay: Comprehensive Guide for Art and Pottery. | Earthenware or Raku Clay |
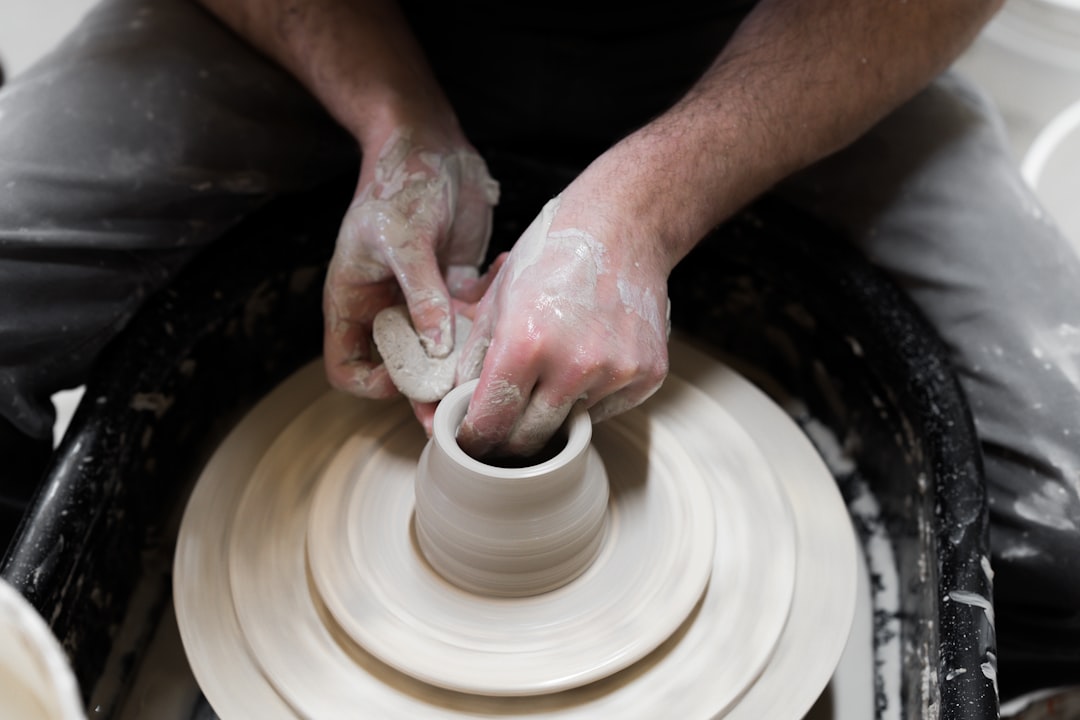
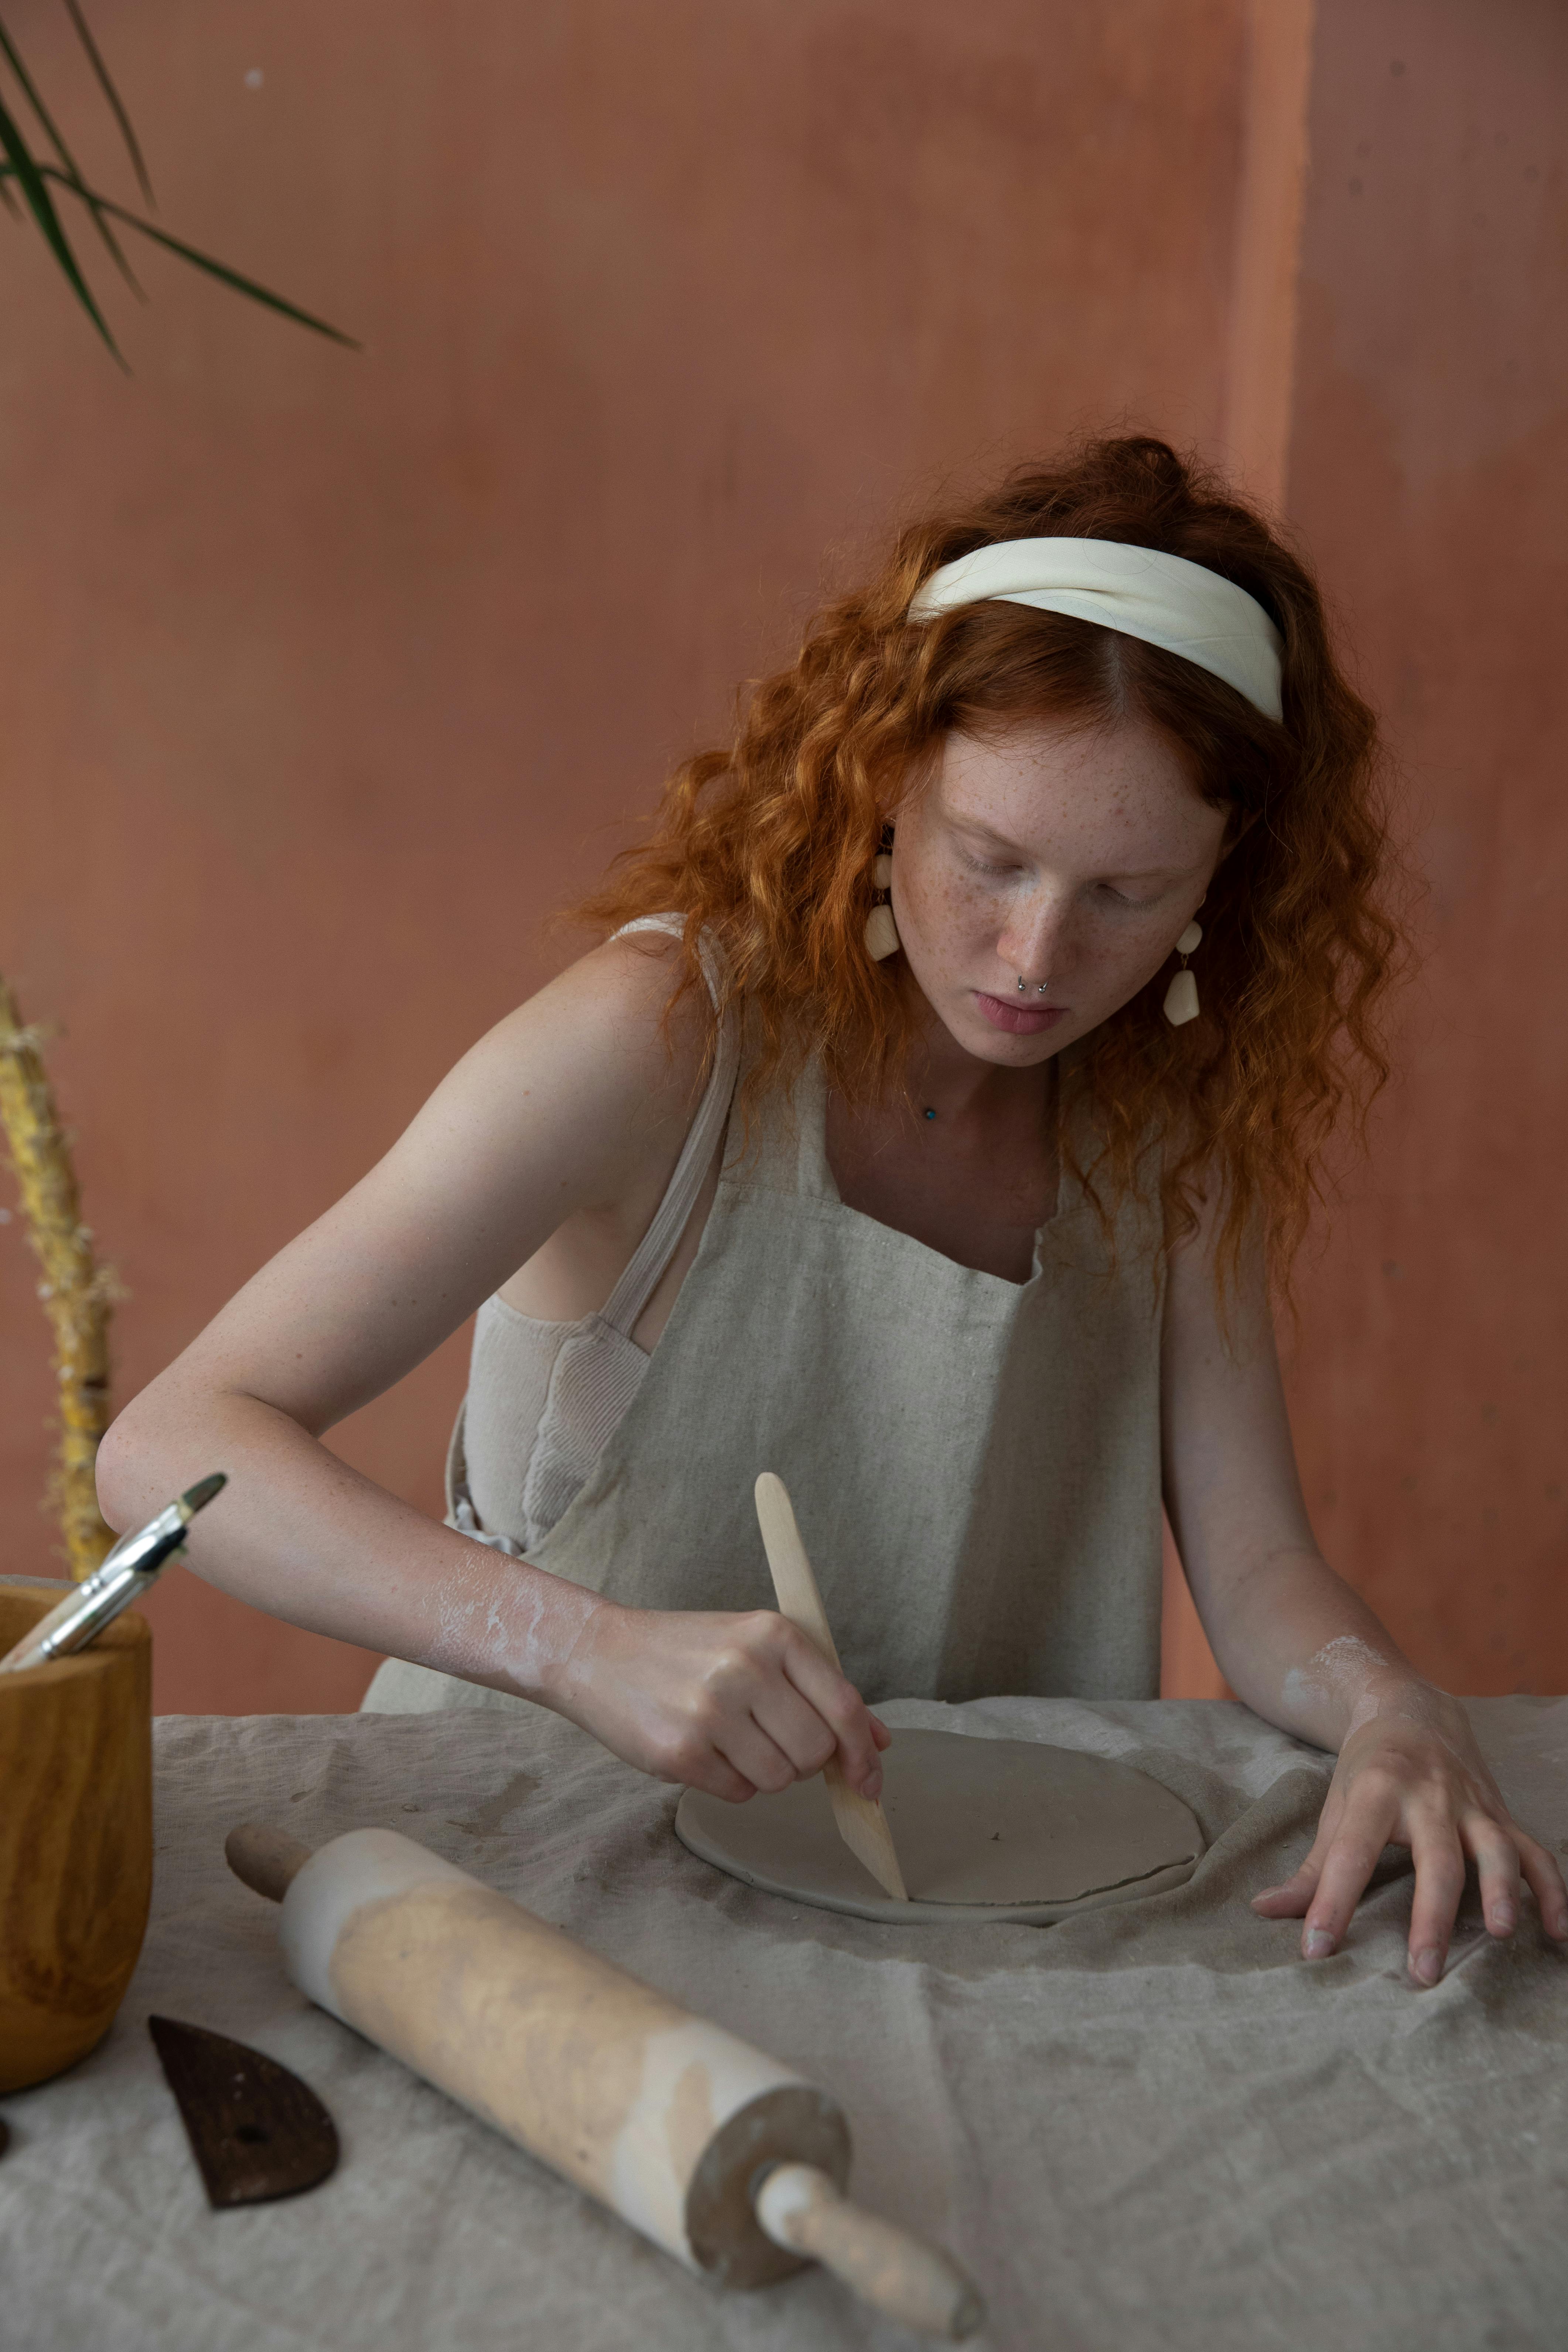
| Step Two: Shape the Clay | Form clay into desired shapes, such as pots or planters. For step-by-step instructions, check out How to Make Ceramics. | Clay, Hands |
| Step Three: Dry Your Pots | Allow pots to dry slowly in a well-ventilated area to prevent cracking. | Dry Space |
| Step Four: Fire the Pots | Use a pit method to fire the pots, employing wood or other combustibles. | Shovel, Wood, Fire Pit |
| Step Five: Clean and Finish | Once cool, clean the pots using water to remove any ash. | Water, Brillo Pad |
Exploring Creative Firing Methods
Breaking free from the constraints of traditional kiln firing opens up a realm of creative possibilities. Consider alternative methods like pit and raku firing to infuse your ceramics with unique textures and finishes. Pit firing, an age-old technique, involves placing your clay pieces in a pit brimming with combustible materials. This method not only brings an earthy, organic look to your pots but also connects you with ancient traditions. Meanwhile, raku firing, a Japanese practice, transforms pottery into a canvas of surprising crackles and iridescent effects. It requires only a metal container and offers results akin to a traditional firing without the hefty kiln investment. Each method not only harks back to historical roots but adds a personal touch to your creations.

Building a Community of Ceramic Enthusiasts
Embrace the communal aspect of pottery-making by joining local ceramic clubs or online groups. Collaborating with fellow artists not only provides access to shared firing opportunities but also inspires fresh ideas and techniques. Platforms like “Clay Buddies” on Facebook connect ceramicists from around the world, making it easy to share experiences and troubleshoot issues together. These communities can also guide you on accessing kilns through rental services such as KilnShare.com, ensuring you can try professional firing without owning a costly kiln. By participating in these networks, you open up the possibility of refining your skills and learning from the collective expertise of seasoned potters.
Investing in Tools for Home Ceramics
If you’re serious about diving deeper into home ceramics, investing in a small kiln might be a step worth considering. Though limited by size and requiring thoughtful ventilation, these compact kilns can fit into a corner of your apartment and get you closer to professional-quality results. Additionally, consider polymer clays that can be fired with just a home oven, broadening your range of materials and techniques. You can explore Types of Coils: Ceramics Patterns and Techniques for more insight into different methods that challenge traditional practices. Embracing these tools balances the art of ceramics with practicality, setting a foundation for more ambitious projects down the line.

Experimentation and Personal Growth
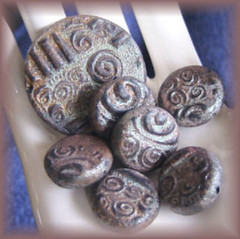
To truly grow your pottery practice, embrace experimentation and the inevitable trial and error that comes with it. Create multiple pots to practice consistency, and don’t shy away from making mistakes—they’re integral to the learning process. Decorate your creations using everyday objects like leaves or stones to make them truly your own. This journey of discovery not only sharpens your skills but also deepens your connection to each piece you craft. Remember, the joy of ceramics lies not solely in the end product but in the process and your personal evolution as an artist.
For more articles and resources on ceramics, check out our recent entries.
What innovative methods or tools have you tried in your ceramics journey? Share your adventures, tips, or hurdles in the comments below. Your experience might just inspire someone else to take the clay into their own hands.
Make Pottery At Home Without a Kiln (Or Anything Else)
Learning how to make ceramics at home without a kiln opens up a world of creative possibilities for pottery enthusiasts looking to explore their passion in the comfort of their own spaces. To assist you on this journey, check out Andy Ward’s Ancient Pottery video where you can learn to make pottery without any special tools, kilns, or other equipment.
How do you dry ceramics without a kiln?
One way to dry and fire your ceramics at home is by using a simple pit-firing method with a charcoal grill. Begin by layering wood chips, coal, or paper in the grill and light them to create a steady fire, aiming for temperatures between 980°C and 1100°C. Make sure your clay pieces are thoroughly dry, then carefully place them into the heated area once the fire stabilizes. Keep a close watch on the temperature throughout the process to ensure an even, successful firing. This hands-on approach offers a rustic, DIY alternative for anyone looking to create ceramics without professional kiln equipment.
Crafting ceramics at home without a kiln is not only possible but also incredibly rewarding. It allows you to experiment with different techniques and materials, fostering your creativity every step of the way. Whether you’re shaping delicate bowls or bold sculptures, the joy of creating something unique with your own hands is truly unmatched.
Stay Connected and Keep Creating
I'd love to see your ceramic creations and share more tips and inspiration with you! Follow us on Instagram to stay updated with the latest projects, tutorials, and a vibrant community of fellow pottery enthusiasts. Let's continue this creative journey together!